
How to edit video content: A beginners guide
Video editing can feel intimidating when you’re starting out as a content creator. But if you approach things the right way it needn’t be a daunting task. Essentially, you’re just enhancing raw footage to give it shape and structure. And remember, every creator you admire was once exactly where you are now.
In this guide we walk you through the essentials of video editing, from understanding what it is, to creating your first project, and gradually building more skills over time.
And if you’re completely new to the process why not check out this post: What is editing software? A beginner’s guide
What is video editing and why is it necessary
Video editing is the process of taking raw footage and combining its different elements into a finished, cohesive video. It helps shape your content into something structured, engaging, and watchable.
Without editing, footage can feel unstructured and lack clear direction or flow (unless it’s intended as a livestream or continuous recording). Editing gives you creative control over pacing, tone, style, and narrative, allowing you to guide the viewer’s attention exactly where you want it to go.
Consider your subject matter and style first
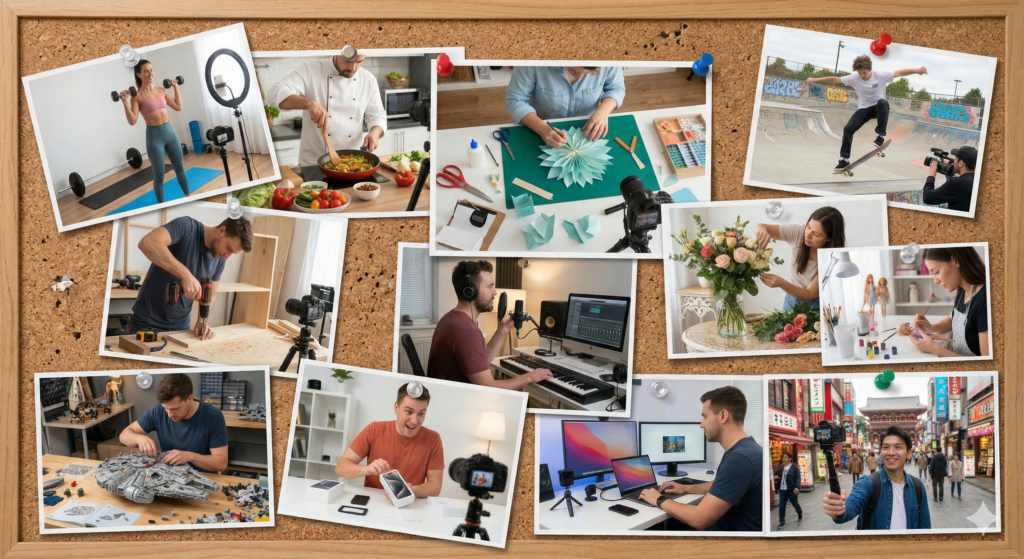
Before you even open some editing software, it helps to understand what kind of content you want to create.
From there, you can start considering which editing style will best enhance and suit that content.
For example, fast-paced jump cuts and energetic music often suit short-form social videos, gaming content and footage aimed at young adults. Slower pacing and subtle transitions can work well for tutorials, lifestyle or cinematic videos. When it comes to editing your content there’s no such thing as a “correct” style. You should aim to establish a style that fits your subject matter, presentation style and audience expectations.
A great way to develop your own editing style is by studying creators within your niche. Watch their content closely and start breaking down how their videos are put together. Notice how frequently they cut between shots, how they use music, overlays and effects, as well as the way they control pacing and structure. As a regular viewer, you’ve probably never focused on these details, but as a creator, it’s important to start watching content with a more analytical eye.
Keep in mind that many of these videos are the result of years of experience, and in some cases even a full production team. So don’t get disheartened if your early edits don’t feel as polished. Just keep creating and editing content and over time, this kind of critical observation will naturally shape and refine your own editing style.
Deciding on your editing equipment and setup

Once you have established the style and direction of your content, the next step is to choose how you’ll edit. Most beginners start with a laptop or desktop computer, though mobile editing is also an option for short-form content. The most important factor isn’t having the most powerful setup it’s choosing something you can comfortably learn on.
Editing software ranges massively from simple, drag-and-drop tools designed for beginners to more advanced, industry-standard platforms. If you’re just starting out and focusing on basic edits, it’s best to avoid overwhelming yourself with overly complex software. Instead choose something more straightforward. Think about the features you’re likely to use, and look for an editing tool that covers those needs while offering a simple, intuitive workflow.
On the other hand, if you have more ambitious plans for your content, it’s worth choosing a tool that can grow with you and support your ideas as they develop. DaVinci Resolve is a popular option and it’s even free! Don’t let the freeness fool you though. This sophisticated software still offers a wide range of professional features.
On the higher end, Adobe Premiere Pro and Final Cut Pro are two of the most widely recognised editing platforms in the industry. They are known for their flexibility and creative potential.
When deciding, think about your budget, how easy the software is to learn, and whether it has enough features to grow with you. At the beginning, simplicity is often more valuable than complexity.

Getting started: Your first edit
Opening your editing software for the first time can feel a little intimidating. It can help to spend some time experimenting without the pressure of creating content that you wish to publish. Following along with beginner-friendly tutorials is a great way to ease yourself in.
However you choose to begin, the key is not to jump straight into anything too ambitious. Focus on building confidence with the fundamentals first. Below is a breakdown of the core processes you’ll want to practise to help you develop a solid foundation.
Start by:
- Importing your footage into the project
- Selecting and placing clips onto a timeline
- On the timeline organise your content into a logical order
From there, you’ll be able to start shaping your video. You may choose to:
- Cut out mistakes, pauses, and unwanted sections
- Trim clips to improve pacing
- Arrange scenes in a way that drives the videos narrative
Basic editing techniques include:
- Adding jump cuts (where you cut out sections to remove unnecessary gaps)
- Apply simple transitions like fades or dissolves between scenes
At this stage, focus on clarity over complexity. A well-paced simple edit is far more effective than an overcomplicated one.
Exploring more advanced editing techniques
Once you’ve become familiar with the basics, you can start exploring more advanced techniques. This is where editing can become a creative and expressive process.

Some areas to explore include:
- Visual effects can be used to stylistically alter your footage. These can include blurs, glow effects, glitch fx, colour filters etc
- Green screen (chroma key) effects allow you to select a specific colour range and remove any parts of the image that match it. This technique is widely used for replacing backgrounds, such as placing subjects in different environments or adding digital scenes behind them.
- Colour grading helps create a consistent visual tone across your footage. Using an adjustment layer, you can tweak film stock looks, contrast, brightness, saturation, white balance, and shadows/highlights., often with built-in presets. Strong colour grading gives your videos a richer, more cinematic feel.Speed adjustments (slow motion or fast cuts) to enhance impact
- Speed adjustments can help sync footage to a narrative and improve overall flow. Slow motion can be used to add emphasis and impact, while slightly speeding up clips can tighten pacing and reduce overall runtime, helping keep videos more engaging for viewers who might be put off by longer content.
- Texture overlays, whether static or moving, are a simple way to add character and depth to your footage. Effects like film grain, old TV scan lines, or subtle colour and pattern overlays can be blended into your video to create an extra visual layer.
- Text and graphic overlays are a powerful tool for creators. They can include titles, captions, logos, pop-up phrases, or cut-out images, all of which help bring your content to life visually. These elements are especially useful for short-form content, where viewers often scroll quickly and may have the sound turned off.
- Opacity & Masking Effects are used to reveal or hide parts of clips, create transitions, or combine multiple layers creatively
- Warp Stabilizer is a handy tool for smoothing out shaky footage. It helps to make handheld shots look steady and professional.
Note* some editing software lets you create a dedicated layer for applying effects like colour grading and filters. This adjustment layer can be placed over your footage without directly altering or re-rendering the original clips. It’s especially useful when your edit includes multiple cuts, as the effects can be applied consistently across the entire sequence.
The key here is experimentation. Not every effect will suit every video, so it’s important not to overload your edit with too many. When used purposefully, effects have much greater impact. Over time, you’ll develop a better sense of what fits your style and what feels excessive or unnecessary.
Summary
Video editing is a skill that tends to develop gradually with confidence and experience. It’s important to remember when you’re starting out, every creator, however big was once in the same position as you. If you were to view their early videos they would look very different, most likely featuring basic, simple cuts.
What matters most is consistency. The more you edit, the more natural the process will become. Over time, you’ll start to notice how small changes in your cuts and timing can make your videos feel smoother and more natural. You’ll also build an instinct for pacing, and eventually develop a distinctive style that makes your edits feel uniquely your own.
As you develop your editing skills and style, it’s still valuable to continue analysing and studying other creators. With the experience you’ve gained, you’ll now be able to view their content with a more informed, editorial perspective. Studying their content will help you understand how they structure their work and make creative decisions.
Eventually, editing stops feeling like a technical task and becomes a creative tool allowing you to express your ideas. It can be a highly enjoyable and creatively fulfilling job with some creators even preferring it to the process of planning and filming content.